Your first form
Write a playbook, build a form for it in the Designer, launch it and find the job
- 1. Log in
- 2. Write the playbook
- 3. Create the form
- 4. Launch it
- 5. Watch the output
- 6. Find it in the job history
- Next steps
This tutorial starts from a fresh installation, see Installation. It takes about fifteen minutes.
1. Log in
Open AnsibleForms in a browser and log in as the administrator.
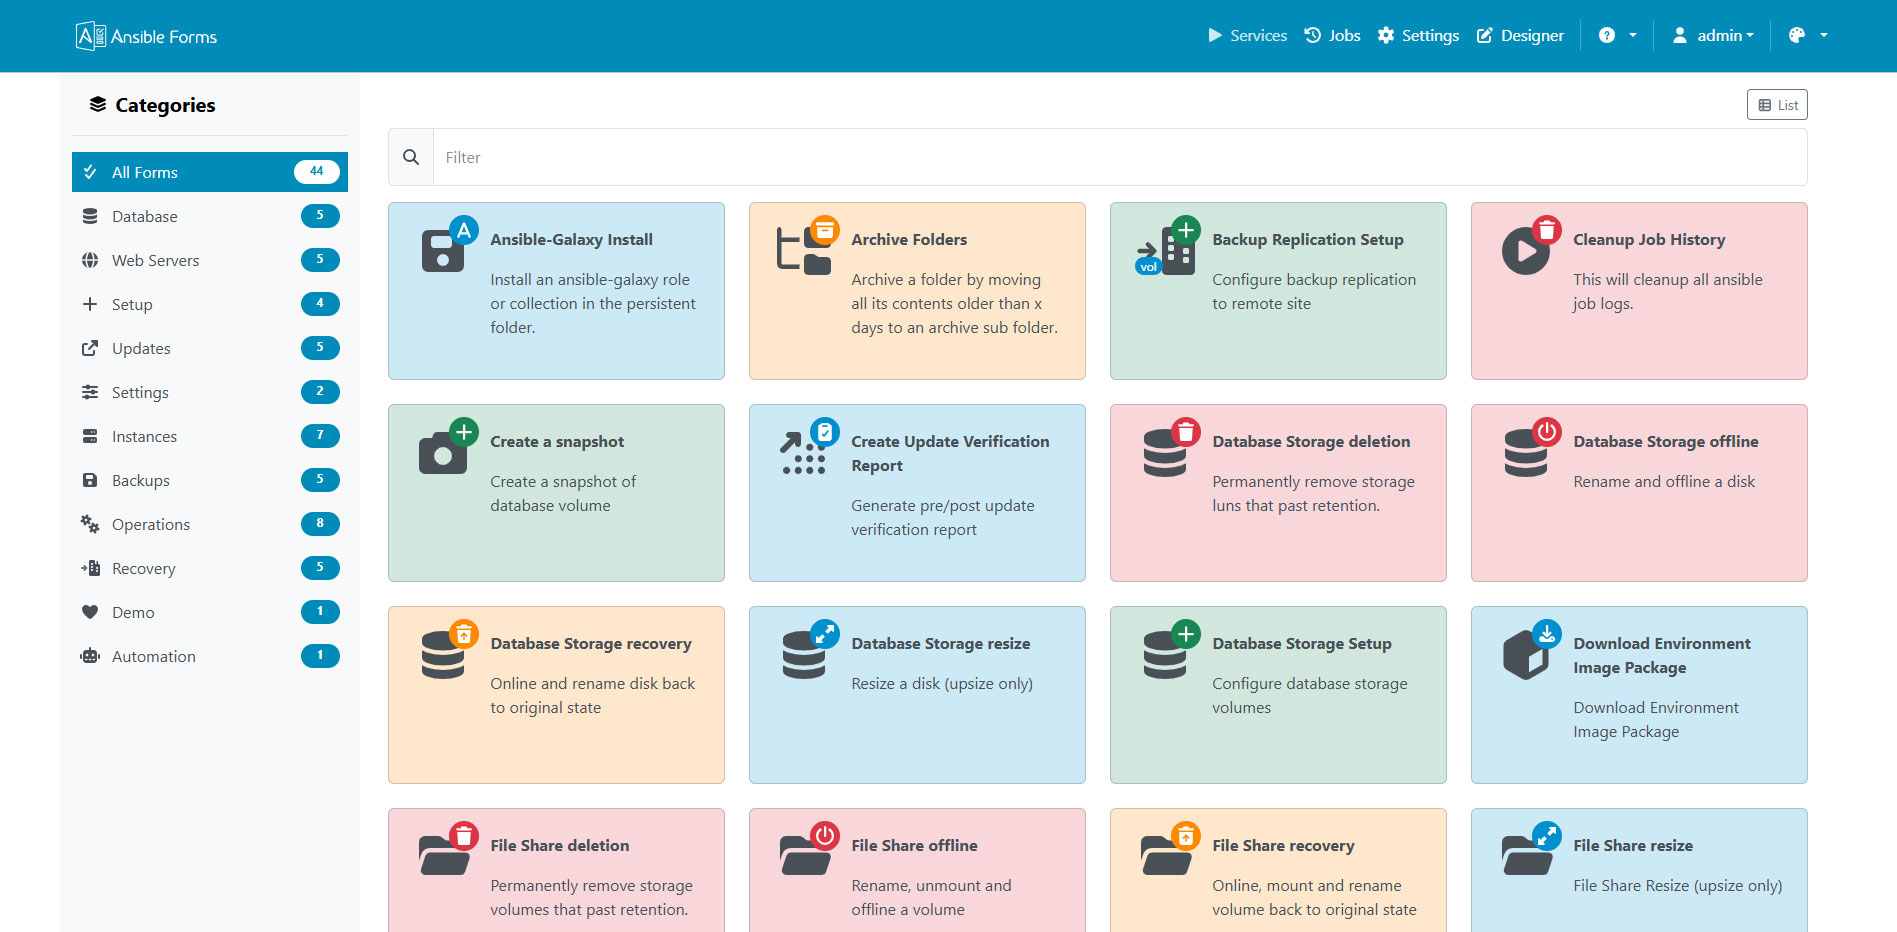
The default account is admin / AnsibleForms!123 (or your ADMIN_* values); the Forms page opens:
2. Write the playbook
An ansible form runs a playbook from the playbooks folder, so the playbook comes first. Save this as hello.yaml:
- name: Hello world
  hosts: localhost
  gather_facts: false
  tasks:
    - name: Show the values from the form
      ansible.builtin.debug:
        msg: "Hello : a  machine in  (dry run: )"
The playbook reads four variables. The form you build next sends them as extravars, one per field.
Put the file in the playbooks folder of the persistent folder (ANSIBLE_PATH); create the folder if it does not exist yet:
The folder you mounted at /app/dist/persistent, /srv/apps/ansibleforms/server/persistent in the installation example:
mkdir -p /srv/apps/ansibleforms/server/persistent/playbooks
cp hello.yaml /srv/apps/ansibleforms/server/persistent/playbooks/
The data/playbooks folder of the docker-compose project:
cp hello.yaml data/playbooks/
The persistent volume, mounted at /app/dist/persistent in the AnsibleForms pod. Look up the pod’s name, then copy the file into it:
kubectl -n ansibleforms get pods
kubectl -n ansibleforms exec <pod> -- mkdir -p /app/dist/persistent/playbooks
kubectl -n ansibleforms cp hello.yaml <pod>:/app/dist/persistent/playbooks/hello.yaml
The persistent/playbooks folder of the server, /srv/apps/ansibleforms/server in the installation example:
mkdir -p /srv/apps/ansibleforms/server/persistent/playbooks
cp hello.yaml /srv/apps/ansibleforms/server/persistent/playbooks/
When a git repository has Use for playbooks switched on, playbooks are run from that repository instead: commit
hello.yamlthere. See Designer and git.
3. Create the form
Forms are YAML files in the forms folder. The Designer edits them in the browser and checks them before it saves.
- Click Designer in the top menu, then Forms in the left menu.
- Click the switch at the top right (Start Designer). It locks the configuration so nobody else edits it at the same time, and then reads Locked by me.
- Click New file, the first button of the toolbar, and enter the filename
hello-world.yaml. The Designer adds a form calledNew Formto it. - Replace the YAML in the editor with this form:
name: Hello world
type: ansible
playbook: hello.yaml
description: Greets you with the values you picked
icon: play
roles:
  - public
categories:
  - Default
fields:
  - name: your_name
    type: text
    label: Your name
    required: true
  - name: target_env
    type: enum
    label: Environment
    values:
      - development
      - test
      - production
    default: development
    required: true
  - name: vm_size
    type: enum
    label: Size
    expression: "[{size:'small',cpus:1},{size:'medium',cpus:2},{size:'large',cpus:4}]"
    runLocal: true
    default: __auto__
    required: true
  - name: dry_run
    type: checkbox
    label: Dry run
    default: true
- Click Validate (the check mark), then Save. Saving writes
hello-world.yamlto the forms folder. - Click the switch again to release the lock.
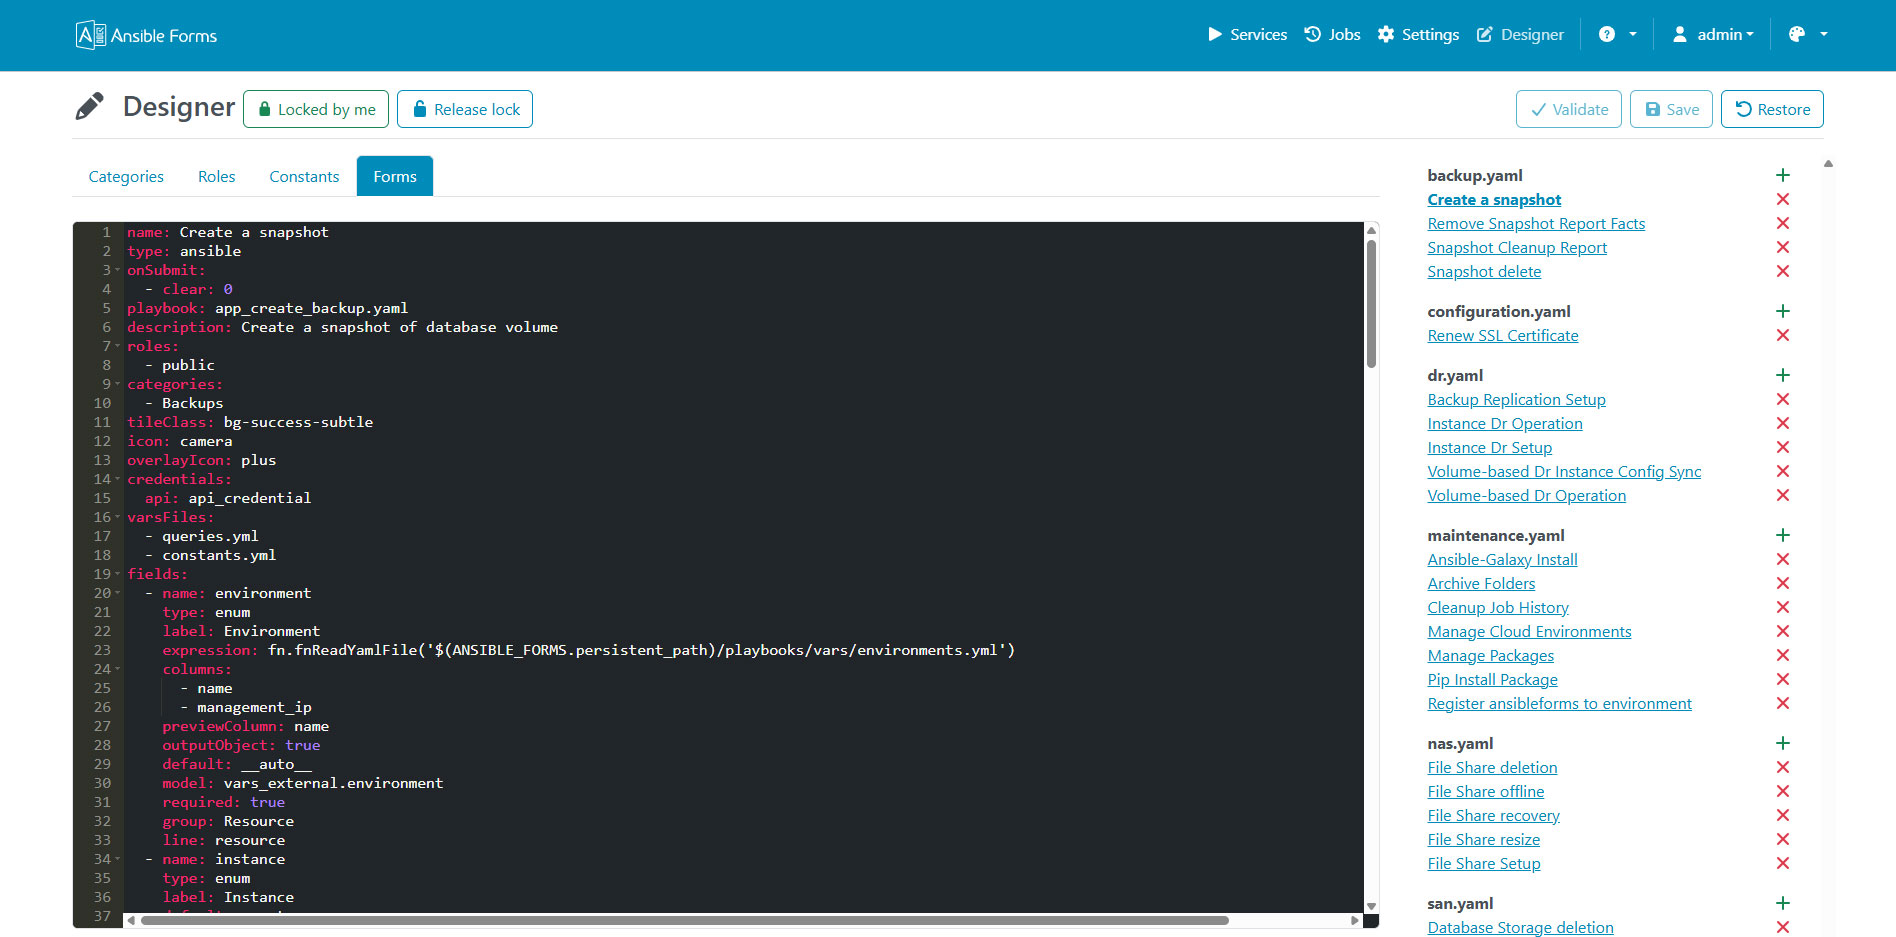
The form uses four field types:
| Field | Type | What it does |
|---|---|---|
your_name | text | A required text box |
target_env | enum | A dropdown with a fixed list of values |
vm_size | enum | A dropdown filled by a local expression; __auto__ selects the first item |
dry_run | checkbox | A checkbox, sent as true or false |
vm_size shows both columns, size and cpus, and sends size, the first; valueColumn picks another.
roles: [public] lets every logged-in user run the form, and categories: [Default] puts it in the category that the default config.yaml defines.
You can also copy
hello-world.yamlintoFORMS_FOLDER_PATH, and validate it in VS Code.
4. Launch it
Open the form from the Forms page: click Forms in the top menu and pick Hello world in the Default category.
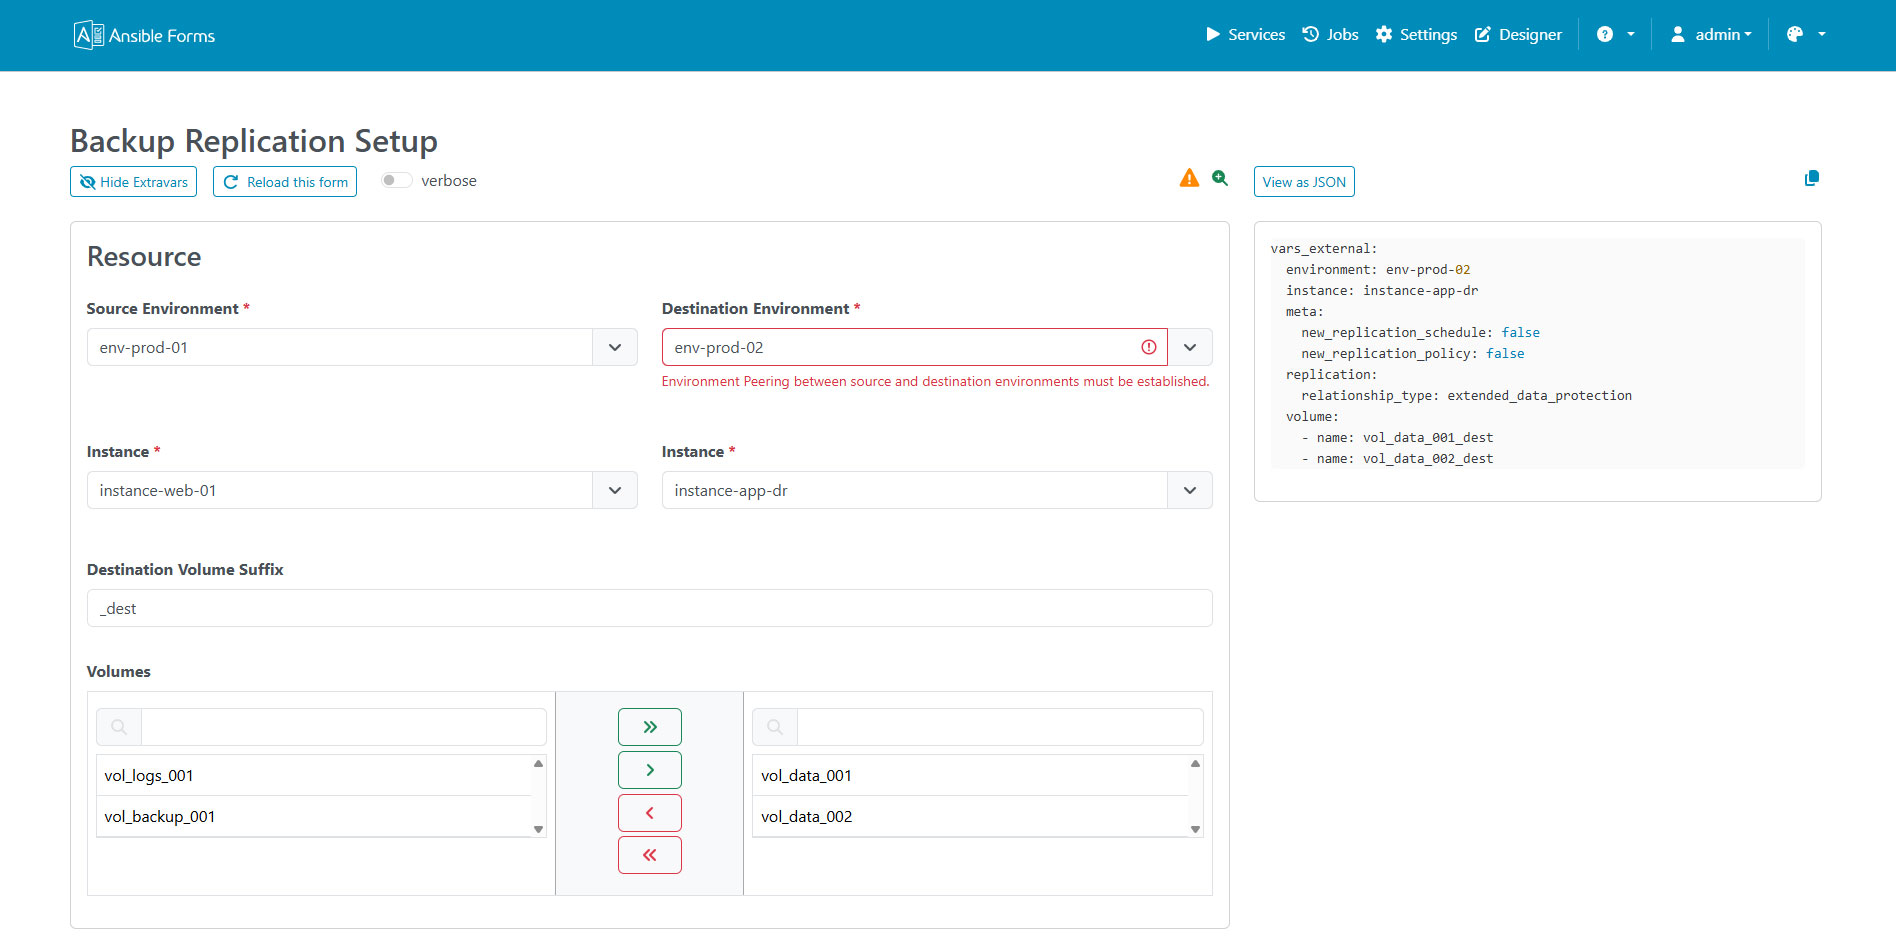
Fill in your name and change the other fields if you like. Click Show Extravars to see what the playbook will receive, then click Submit:
5. Watch the output
The job starts at once, and its output appears below the form while it runs, ending with a Finished bar:
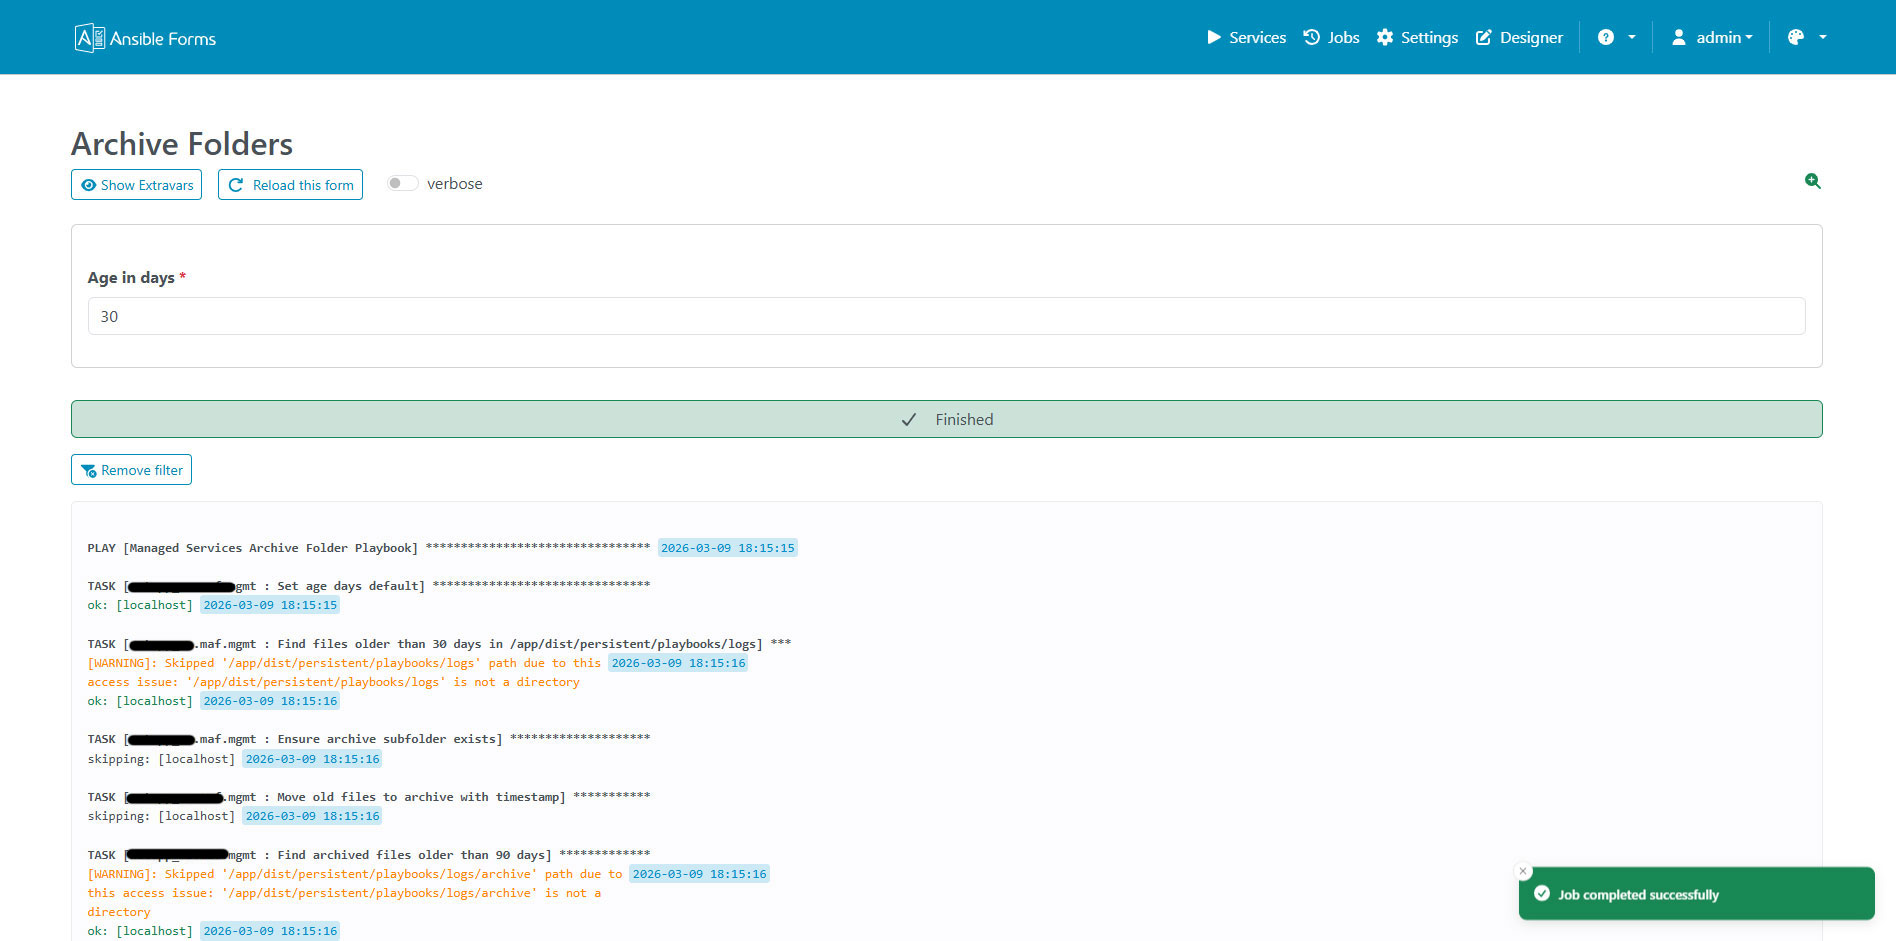
The debug task prints your values, for example Hello Alice: a small machine in development (dry run: True).
The implicit localhost warning is expected without an inventory; a real form sets inventory.
6. Find it in the job history
Every launch is kept as a job. Click Jobs in the top menu: the new job is at the top of All jobs.
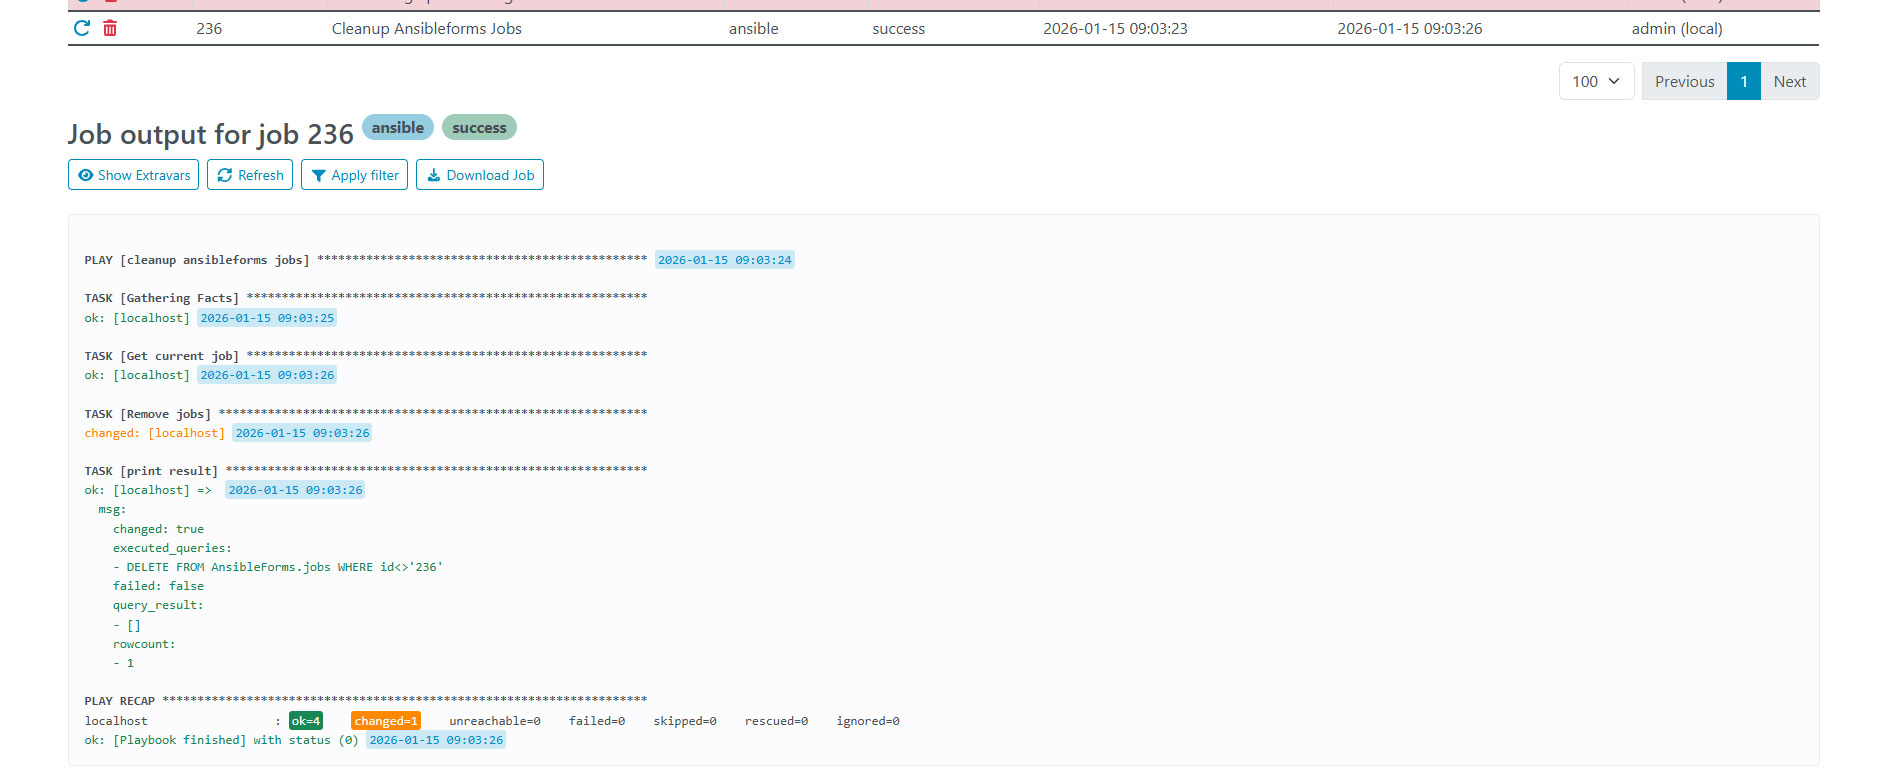
Click the job to see its output again, and Show Extravars to see what was sent. The icons in front of each job relaunch or delete it:
Next steps
Build on this form with the reference pages:
- Forms : every form property, AWX templates, multistep forms, approval points and notifications
- Formfields : all field types, with validation, dependencies and layout
- Expressions : fill fields from REST APIs, databases and files
- Roles and categories in
config.yaml: decide who sees which form - How it works : what happens behind a launch, and where everything is stored